
Loading a web page with images could slow down web scraping due to reduced page speed. If you are looking to speed up browsing and necessary data scraping, disabling CSS and images could help with that while also reducing bandwidth consumption. This tutorial will show you how to do that.
What slows your page down?
Size has a direct impact on page speed. Browsers take time to load embedded code as well as images, especially the big ones. The average page size is more than 2MB which is three times more than it was, just three years ago.
To find the differences, we opened eBay.com with images and CSS both enabled and disabled and tracked the total page loading time. Before each test, the browser and cache were cleared to make sure the results were accurate. When we loaded the page with images and CSS enabled, it took 15 seconds to load completely.
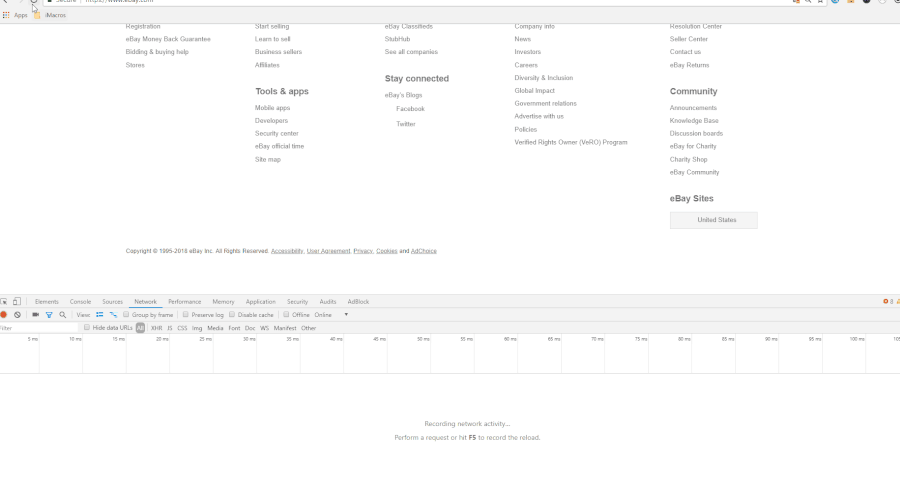
With images and CSS disabled, the page fully loaded in 6.5 seconds. The difference is quite huge.
Note: There are some websites which have content that is dependent on CSS. In such a case, the content itself will not load if the CSS is disabled. Make sure you check that the content of the site loads without CSS before scraping.
Required Tools
If you already know how to install Puppeteer, skip to the next section.
You need to first install node.js and write the code to disable images and CSS in JavaScript. Puppeteer requires at least Node v7.6.0 or greater but for this tutorial, we will go with Node v9.0.0.
Installing Node.js
Linux
Head over to and choose the distribution you want. Here are the steps to install node.js in Ubuntu 16.04:
- Open a terminal run –
sudo apt install curlin case it’s not installed. - Then run –
curl -sL https://deb.nodesource.com/setup_9.x | sudo -E bash - - Once that’s done, install node.js by running,
sudo apt install nodejs. This will automatically install npm.
Windows and Mac
To install node.js in Windows or Mac, download the package for your OS from Nodes JS’s website https://nodejs.org/en/download/
Now that we have node.js installed, let’s create a directory called disable_test and open the command prompt or terminal. Go into the directory and run the command:
npm init
Hit enter for each question asked. This will create a file called package.json inside the directory.
Setup Headless Chrome and Puppeteer
Next, we’ll have to run the command to install puppeteer in the project root directory:
npm install puppeteer --save
This might take a while as Puppeteer needs to download and install Chromium in the background. Now that we have set and configured everything let’s get started.
Getting Started
We’ll dive into the code and make the basic crawler that will launch a new headless browser instance, open a new page (tab) and navigate to the URL provided in the command-line argument
const puppeteer = require('puppeteer');

let browser, page;

async function run() {
    browser = await puppeteer.launch({ headless: false });
    page = await browser.newPage();
    await page.setViewport({ width: 1920, height: 1080 });
    await page.goto('https://ebay.com');
}

run();
Let’s go through the code line by line:
First, we are importing node.js library which is what is used to control Chromium Browser/Google Chrome into our script.
const puppeteer = require('puppeteer');
Then we are creating two variables. One for the browser and one for the page, to hold the browser and page objects. We’ll create a browser object by calling the puppeteer launch function. This is where we actually launch Puppeteer.
let browser = await puppeteer.launch({ headless: false });
Turning off Headless Mode
We have given {headless: false}. This will open up a browser window and is very helpful to debug issues.
To turn headless mode on, just modify the line to
let browser = await puppeteer.launch({ headless: true });
We are also creating a new page, which is synonymous with a tab in Google Chrome. Wait for the new page to open and save it to the page variable.
let page = await browser.newPage();
Since responsive websites behave differently in different screen sizes, setting up the correct resolution is very important. If you want your website to open at a different resolution, you can do that here; just assign pixel values for width and height.
await page.setViewport({ width: 1920, height: 1080 });
Using the page that we created in the last line of code, we can now tell our page to navigate to a URL. In this example, we’re navigating to eBay.com.
await page.goto('https://www.ebay.com/');
Running the Script
To execute the puppeteer script save the code inside the directory created and run the script as
node test.js
Optimizing your Puppeteer Script
The general idea is to not let the headless browser run any command that doesn’t help with the scraping. This includes loading images, CSS and fonts.
Since Puppeteer gives full control over the Chrome browser, we can provide an interceptor on every request and cancel the ones we don’t require. For scraping, we don’t really need to worry about any visuals, including the images so we will check each request made by Chrome and block the ones with images and CSS resources.
Blocking Images
To block images, we have to set up a Request Interception.
    await page.setRequestInterception(true);

    page.on('request', (req) => {
        if(req.resourceType() === 'image'){
            req.abort();
        }
        else {
            req.continue();
        }
On each request, the arrow function will get called. We are checking the resourceType of the request. If its an image it gets aborted
In the existing script add the function:
const puppeteer = require('puppeteer');

async function run() {
    let browser = await puppeteer.launch({ headless: false });
    let page = await browser.newPage();
    await page.setViewport({ width: 1920, height: 1080 });
    await page.setRequestInterception(true);

    page.on('request', (req) => {
        if(req.resourceType() === 'image'){
            req.abort();
        }
        else {
            req.continue();
        }
    });

    await page.goto('https://www.ebay.com/');
    await page.waitFor(10000);
    await page.close();
    await browser.close();
}

run();
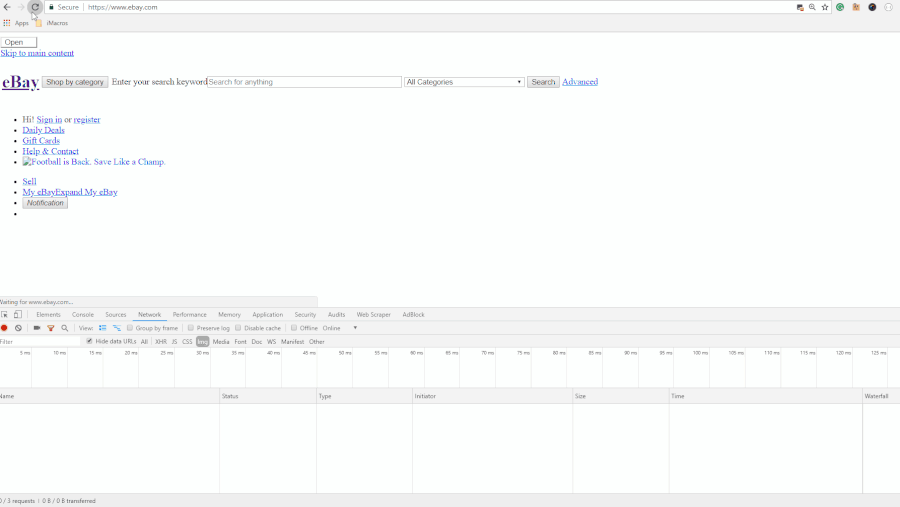
This GIF below shows the output for disabling images.

Blocking CSS
Similarly, to block only CSS, we will disallow requests with the resource type 'stylesheet' and’'font'
await page.setRequestInterception(true);

    page.on('request', (req) => {
        if(req.resourceType() === 'stylesheet' || req.resourceType() === 'font'){
            req.abort();
        }
        else {
            req.continue();
        }
Our full script will look like this:
const puppeteer = require('puppeteer');

async function run() {
    let browser = await puppeteer.launch({ headless: false });
    let page = await browser.newPage();
    await page.setViewport({ width: 1920, height: 1080 });
    await page.setRequestInterception(true);

    page.on('request', (req) => {
        if(req.resourceType() == 'stylesheet' || req.resourceType() == 'font' || req.resourceType() == 'image'){
            req.abort();
        }
        else {
            req.continue();
        }
    });

    await page.goto('https://www.ebay.com/');
    await page.waitFor(10000);
    await page.close();
    await browser.close();
}

run();
Putting it all together
Now we’ll disable the CSS and images, leaving only the necessary content in the website. Our final code:
const puppeteer = require('puppeteer');

async function run() {
    let browser = await puppeteer.launch({ headless: false });
    let page = await browser.newPage();
    await page.setViewport({ width: 1920, height: 1080 });
    await page.setRequestInterception(true);

    page.on('request', (req) => {
        if(req.resourceType() == 'stylesheet' || req.resourceType() == 'font' || req.resourceType() == 'image'){
            req.abort();
        }
        else {
            req.continue();
        }
    });

    await page.goto('https://www.ebay.com/');
}

run();
The GIF below shows the web page without images and CSS after the command is executed:
Tips:
Capturing Screenshots:
Optimization of Puppeteer depends on the exact use case, so keep in mind that some of these ideas might not be suitable for your project. For instance, when you avoid loading images, the screenshots won’t appear as you imagined.
Puppeteer only works with Chrome and Chromium. For automating other browsers you might want to try the Selenium framework. You can check out our blog:
Learn More About Web Scraping using Selenium:
We can help with your data or automation needs
Turn the Internet into meaningful, structured and usable data
Disclaimer: Any code provided in our tutorials is for illustration and learning purposes only. We are not responsible for how it is used and assume no liability for any detrimental usage of the source code. The mere presence of this code on our site does not imply that we encourage scraping or scrape the websites referenced in the code and accompanying tutorial. The tutorials only help illustrate the technique of programming web scrapers for popular internet websites. We are not obligated to provide any support for the code, however, if you add your questions in the comments section, we may periodically address them.